HOMER Pro 3.16

When you open HOMER Pro for the first time, the HOMER Pro Welcome page will appear as shown below.
Here are the three ways to get started quickly:
•Setup Assistant: The setup assistant is the fastest way to create a custom project.
•Take a Tour: The tour will show you how to use the HOMER Pro interface.
•See Sample Files: Sample files let you skip to see results of example projects.
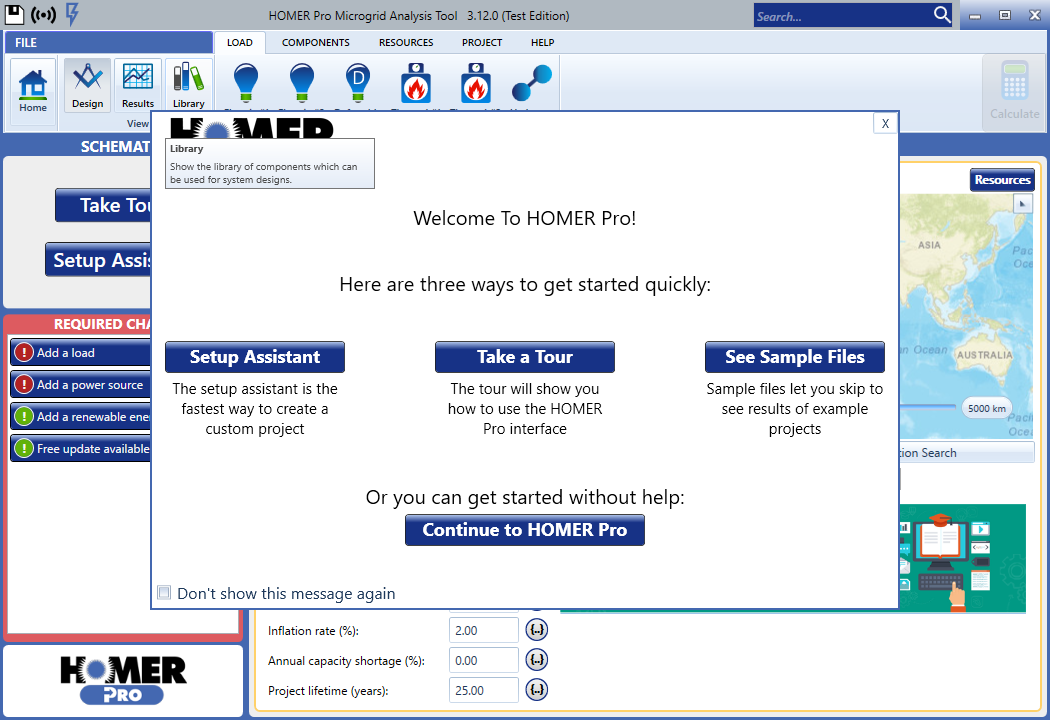
When you select Continue to HOMER Pro or close the Welcome window, the Home page appears. You can add basic information about the project, such as title, author, description, and location. You can also assign a location for your project using the map. If you have already set up a system, the Schematic is shown on the left side of the page.

Tip: If you add PV to your system, selecting a location while on the Home page streamlines the process of adding a PV component and a solar resource.
You can select from three main functions on the left side of the toolbar:
•Click the Design button to build a system using options under the Load, Components, and Resources tabs at the top of the page. The Project tab options allow you to change project parameters, check inputs, and change sensitivity and optimization variables.
Note: The Home page is the default page for Design.
•Click the Results button to review and plot sensitivity cases, investigate optimal systems, and review the details of individual simulations. You can also click the Calculate button on the top right of the page to see this area.
•Click the Library button to access your library and save definitions for components, resources, loads, grid connections, and simulation configurations.
Above the toolbar, at the top, left of the screen are three icons:
•![]() Clicking the Save icon allows you to save your model.
Clicking the Save icon allows you to save your model.
•![]() The Cloud icon indicates that HOMER cloud services are available.
The Cloud icon indicates that HOMER cloud services are available.
•![]() The Advanced Vector icon lets you know the Advanced Vector engine is engaged.
The Advanced Vector icon lets you know the Advanced Vector engine is engaged.
The Search box at the top, right of the screen allows you to enter topics to search in the online HOMER help manual.
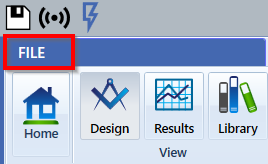
The File tab provides several options: New, Open, Open Recent, Open Samples, Save, Save As, Settings, Compare Files, Batch, and Exit.